How to Make a High-Quality 3D Model Wolf Face Using Maya
by Animatics Asset Store in Blog on October 2, 2024Creating a 3D model wolf face in Maya can be an extremely rewarding project for anyone interested in digital art or game design. With the right tools and techniques, you can create a realistic and detailed 3D model of a wolf face that’ll captivate any audience. Here is a comprehensive tutorial broken down into actionable steps. Let’s dive in.
Step 1: Gathering Reference Images
Before you even open Maya, find some high-quality reference images of wolf faces. Photos from different angles—front, side, and top views—are essential for creating an accurate model. Websites like Pinterest, Google Images, or Shutterstock are great places to start. Consider including images of wolf skulls to understand the underlying bone structure, enhancing your digital wolf sculpting efforts.
Step 2: Setting Up Reference Planes in Maya
Once you’ve gathered your reference images, set them up as image planes in Maya.
- Import Images: First, go to the ‘View’ panel, select ‘Image Plane’, and then ‘Import Image’. Insert your front view image.
- Adjust Planes: Repeat the process for the side and top views. Adjust these planes so they align properly, allowing for a realistic wolf simulation.
- Transparency: Adjust the transparency of these planes to easily view your model overlay.
Step 3: Blocking Out the Basic Shape
Start creating the base shape of the wolf’s face using polygon modeling techniques, ideal for a low poly 3D model.
- Create a Cube: Begin by creating a basic cube or sphere in the center of the scene.
- Extrude and Scale: Use the ‘Extrude’ and ‘Scale’ tools to block out the rough shape of the wolf’s head.
- Refining the Shape: Use the ‘Vertex’ and ‘Edge’ tools to further refine the shape. Pay close attention to the major proportions and contours based on your reference images.
Step 4: Adding Detail with Sculpting
Next, it’s time to add detail to your 3D model face.
- Subdivide: Go to ‘Mesh’ > ‘Smooth’ to increase your mesh’s resolution.
- Sculpting Tools: Utilize Maya’s sculpting tools like ‘Soft Selection’ and ‘Sculpt Geometry’ tool to begin adding muscle and bone structure.
- Anatomy Focus: Incorporate canine 3D textures to enhance the realism of the fur and skin.
Step 5: Refining Features
Here, we refine the smaller, critical features of the wolf face.
- Eyes: Insert separate spheres for the eyes. Adjust their positioning and size to match your references.
- Ears: Use the ‘Extrude’ tool on the head model to form the wolf’s ears. Sculpt their inner details meticulously, perhaps considering a werewolf 3D model or Roxanne wolf 3D model for creative inspiration.
- Nostrils & Mouth: Work on the details with fine-tuned adjustments. Use the ‘Edge Loop’ tool on the nose and mouth areas to achieve realistic creases and openings.
Step 6: UV Mapping
UV mapping is crucial for texturing.
- Unwrap UVs: Select your 3D model, and go to ‘UV’ > ‘UV Editor’. Use ‘Automatic Mapping’ for an initial unwrap.
- Advanced Unwrapping: Proceed to manually adjust UVs for better texture application. Use ‘Cut and Sew’ to manage seams.
- Check UVs: Ensure there’s no stretching or overlapping. A proper UV map will result in better textures, essential for 3D wolf rendering.
Step 7: Texturing
Texturing will bring your model to life.
- Base Color: Import your texture file into the ‘Hypershade’ panel. Apply it as the Diffuse map.
- Adding Detail: Use bump maps or normal maps for finer skin details. These can be created in programs like Photoshop or Substance Painter, perfect for adding the detailed wolf animation rig.
- Fine-tuning: Adjust your shader settings. Maya’s Arnold renderer is particularly useful for realistic textures.
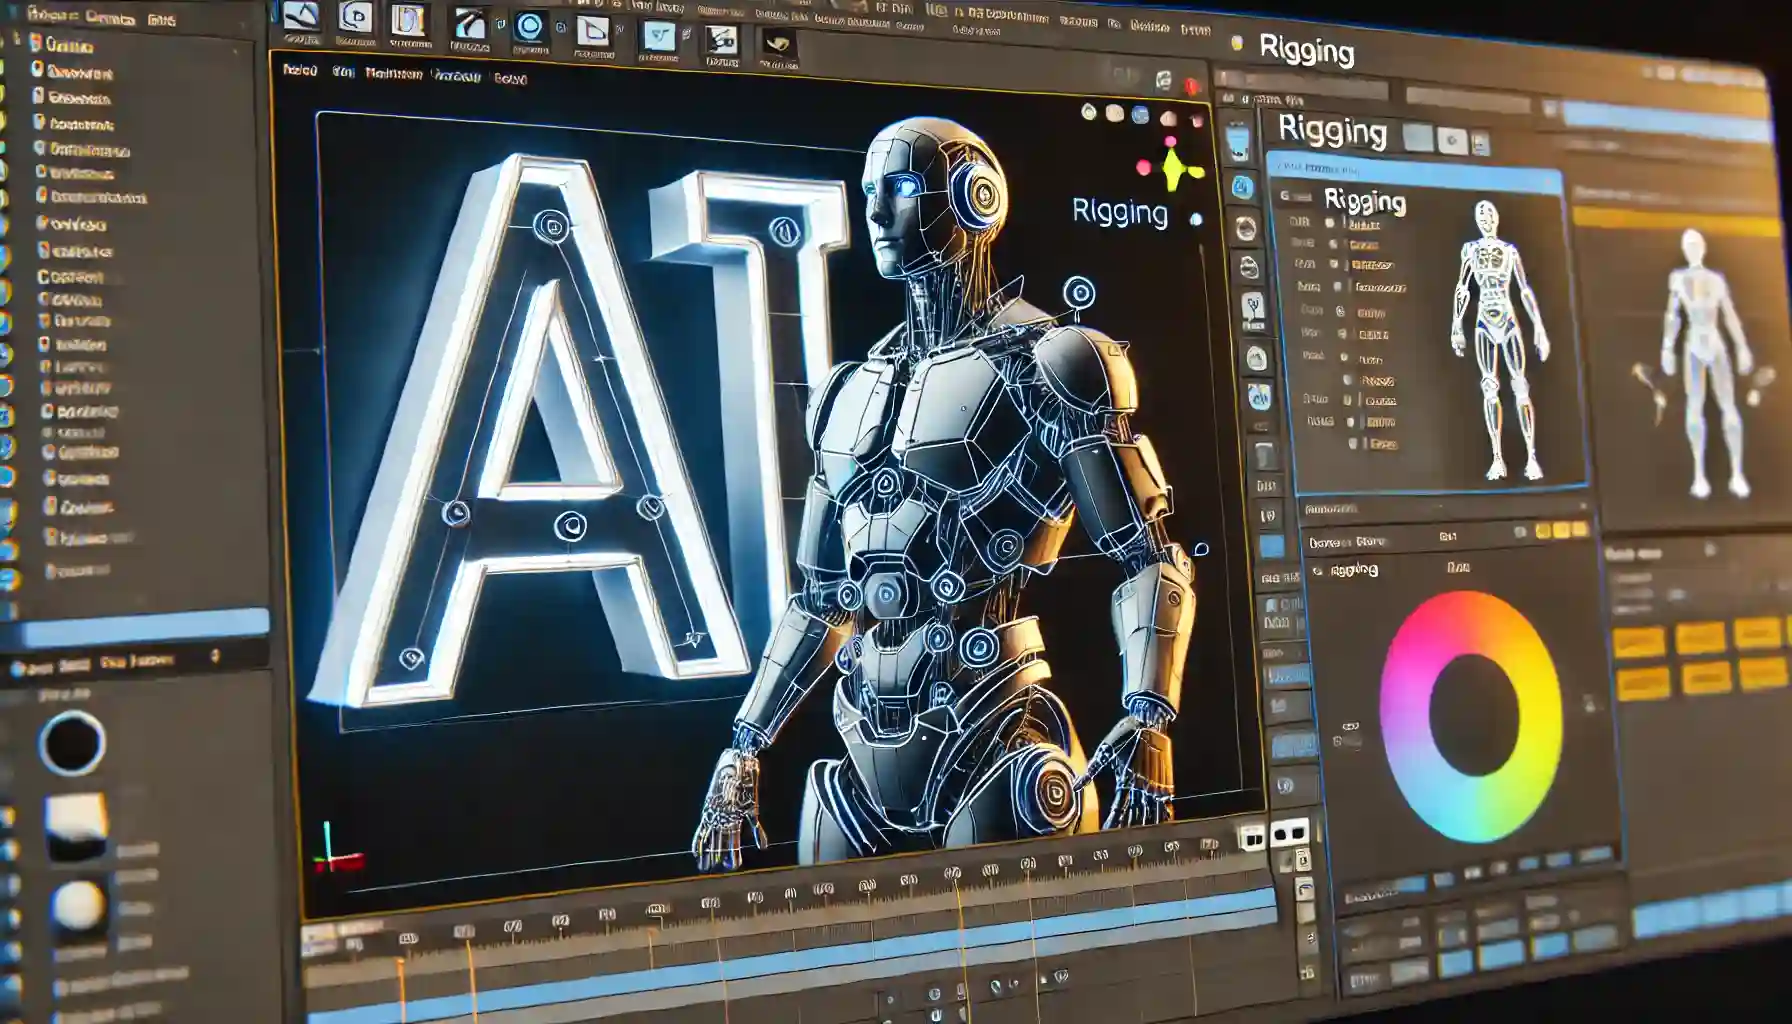
Step 8: Rigging (Optional for Animation)
If you plan to animate your 3D model wolf, rigging is necessary.
- Skeleton Creation: Create a basic joint chain for the wolf’s head.
- Skin Binding: Bind the skin to the skeleton using ‘Smooth Bind’.
- Blend Shapes: Use blend shapes for facial expressions. This allows for a range of emotions and movements, enhancing your realistic wolf simulation.
If you want to learn more about rigging, Click Here!
Step 9: Lighting and Rendering
Proper lighting will showcase your model perfectly.
- Set Up Lights: Introduce key, fill, and rim lights in the scene. Soft ambient lights work best to bring out details.
- Adjust Render Settings: Go to ‘Render Settings’ and choose the Arnold renderer. Adjust the quality settings for a high-resolution output.
- Final Render: Perform a test render and tweak. Once satisfied, do a full quality render for final output, making it suitable for a wolf model download.
Step 10: Post-Production
Post-production can enhance your final render.
- Editing Software: Use software like Photoshop or After Effects for minor adjustments.
- Color Correction: Adjust brightness, contrast, and color balance to make your 3D model wolf face pop.
- Final Touches: Add any final touches, such as background elements or additional effects.
Conclusion
Creating a high-quality 3D model in Maya involves careful planning, meticulous attention to detail, and a balance of technical skills and artistic vision. By following these steps, you can transform a blank canvas into a stunning, lifelike 3D model wolf face. Happy modeling!


