
How to use 3d models in clip studio paint?
by Animatics Asset Store in Blog, How To on October 11, 20243D models can revolutionize the way you work in Clip Studio Paint, offering unprecedented depth and detail to your art. Whether you’re a professional illustrator or a curious hobbyist, integrating 3D models into your workflow can elevate your artistry. This tutorial will guide you through the process with actionable steps, ensuring that you harness the full power of 3D models in Clip Studio Paint.
Step 1: Understanding the Basics
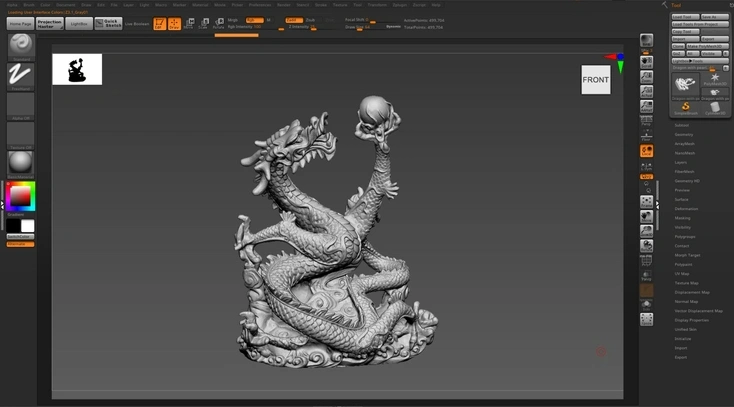
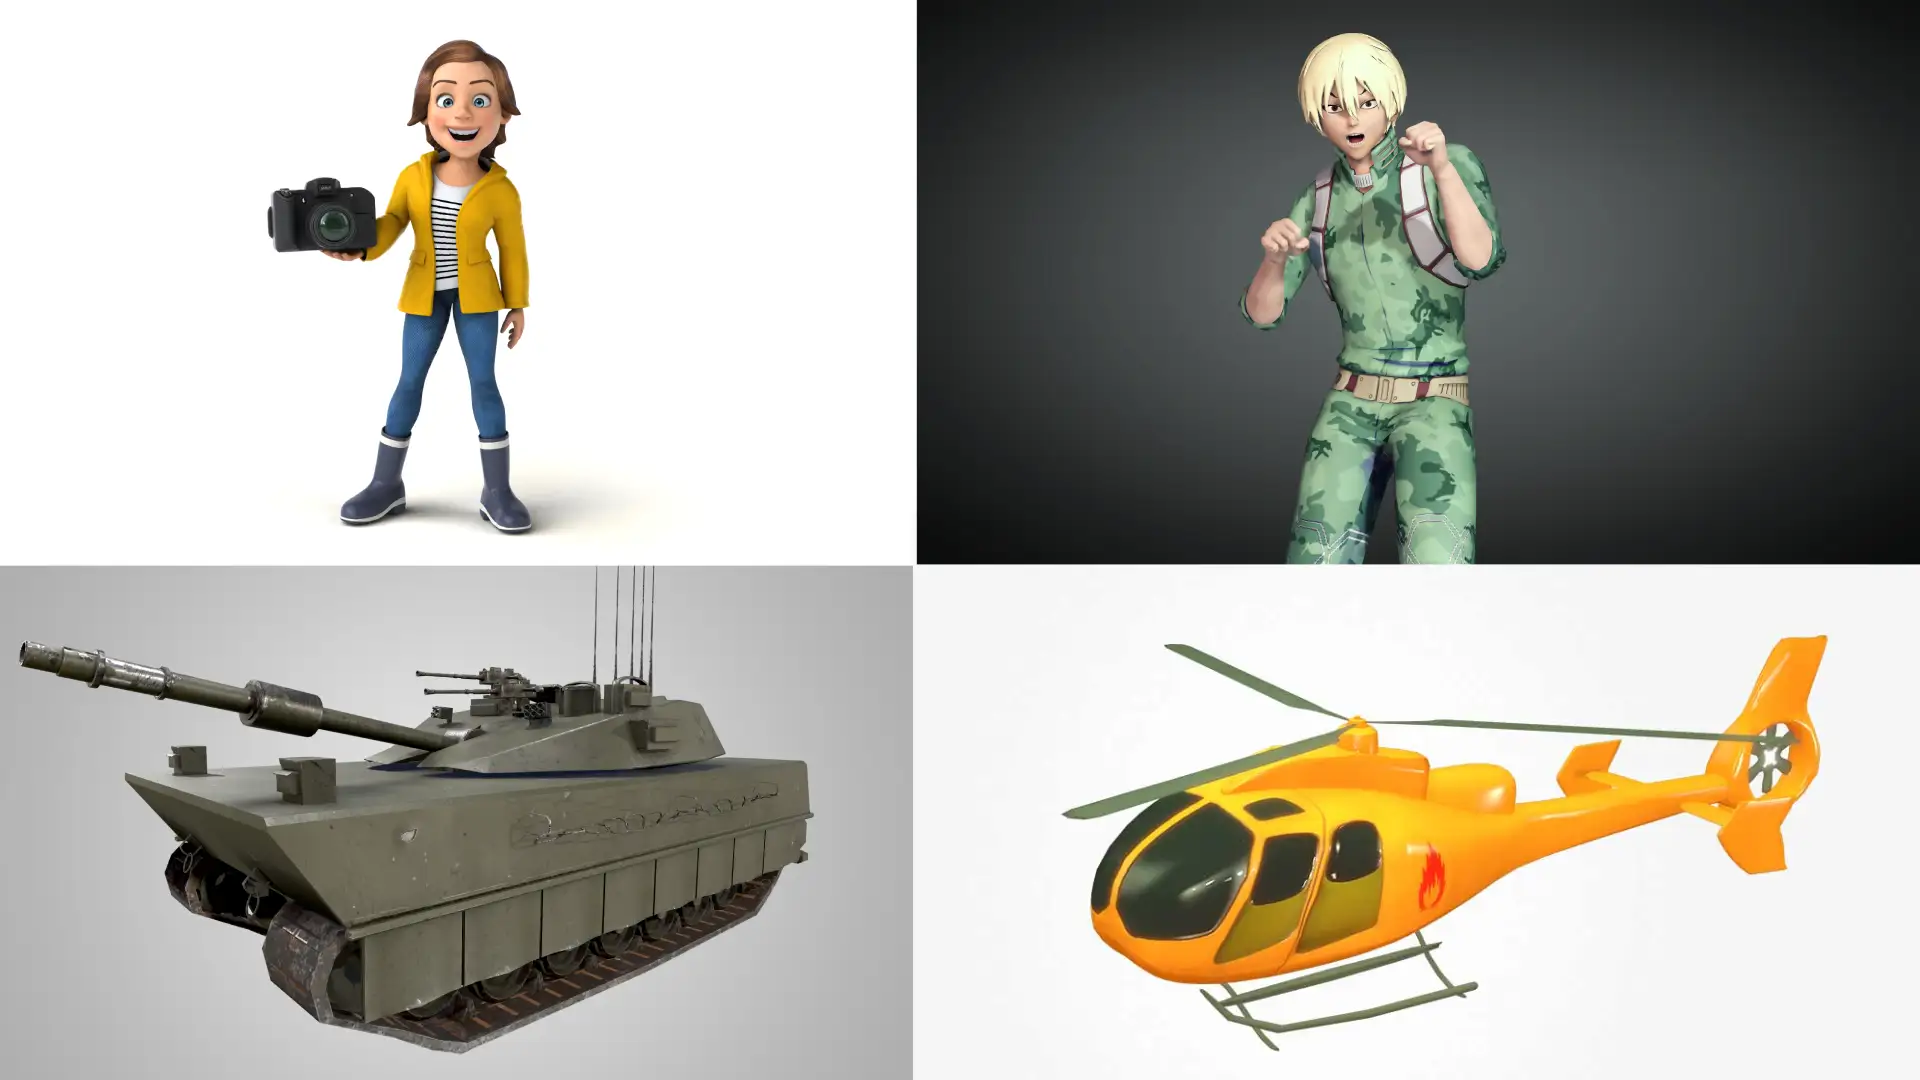
Before diving into the intricacies, it’s crucial to understand the basics of 3D models in Clip Studio Paint. A 3D model is a digital representation of a 3D object, which can be rotated and viewed from different angles within the program. In Clip Studio Paint, these models can be used as references for drawing or as part of your compositions.
Want to learn more about 3d modeling process, Click Here!
Importance of 3D Models
3D models serve as a perfect tool to gain perspective accuracy, study complex shapes, and experiment with lighting and shading. They are especially useful when working on dynamic poses, intricate architecture, and detailed machinery.
Step 2: Importing 3D Models
To begin using 3D models, you’ll need to import them into your Clip Studio Paint project. You can either use models from the built-in library or import external files.
Importing from the Clip Studio Assets
- Open Clip Studio Paint and navigate to the “Material” palette.
- Click on the “3D” tab that houses models such as figures, poses, and objects.
- Drag the desired model directly onto your canvas.
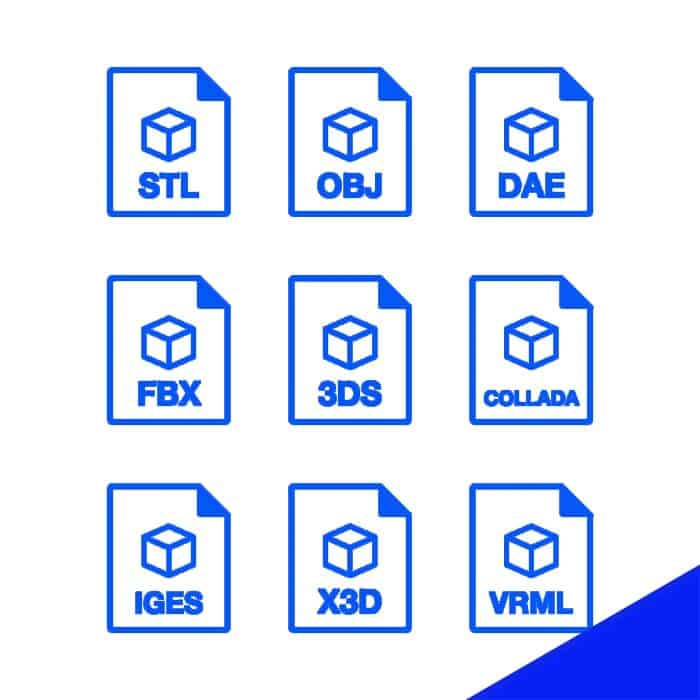
Importing External Models
- Download 3D models in supported formats (e.g., .fbx or .obj).
- In Clip Studio Paint, go to “File” > “Import” > “3D Data”.
- Select the downloaded file and adjust scale settings if necessary.
Step 3: Positioning and Adjusting Models
Once your 3D model is on the canvas, positioning it correctly is key to ensuring it integrates seamlessly with your artwork.
Rotation and Scale
- Rotation: Click on the rotation handles around the model to adjust its angle. Use the axes indicators to align it with your perspective.
- Scale: Drag any of the corner nodes to resize the model. Remember to keep proportions consistent if you’re scaling up or down.
Perspective Adjustment
There’s a “Perspective” slider in the Object Tool property bar. Slide it left or right to adjust the vanishing point, simulating the focus and depth of field.
Step 4: Lighting and Shadowing
Realistic lighting makes your 3D models truly pop. In Clip Studio Paint, you can adjust lighting settings to match your scene’s ambiance.
Adjusting Light Sources
- Select the model and open the “Tool Property” palette.
- Under the “Light Source” section, adjust the position and intensity of lights using sliders or by dragging the light icons around the model.
Creating Shadows
Shadows add dimension to your artwork. Clip Studio Paint enables you to adjust the shadow’s length and opacity directly from the “Shadow” section in the “Tool Property” palette.
Step 5: Integrating 3D Models into Your Art
Now that your model is in place, it’s time to blend it into your artwork naturally.
Tracing and Detailing
Use the model as an anatomical guide or architectural blueprint. Trace over the model on a new layer, focusing on key structures and natural curves. Embellish details manually for a human touch that complements the model’s precision.
Coloring and Texturing
Merge your line art with the 3D model by adding color and texture. Use layers and masks to apply textures, ensuring they conform to the model’s shapes and light sources for a cohesive look.
Step 6: Exporting and Finalizing
After integrating 3D models, your next step is to finalize the piece and prepare it for sharing or printing.
Layer Management
Organize layers to maintain editability. Group model layers and drawing layers for easy adjustments. Label everything clearly to streamline the workflow.
Exporting the Artwork
Go to “File” > “Export” and choose your preferred file format. For high-quality prints, export as a PNG or TIFF. If sharing digitally, JPEG is an excellent choice for smaller file sizes.
Tips for Success
- Experiment with various models and resources. Different projects might require diverse approaches, so don’t hesitate to explore new materials.
- Stay Organized. Utilize folders and layer conventions to keep your project tidy, which will help you manage complex compositions with ease.
- Practice Regularly. Like any tool, mastering 3D models takes practice. Regularly play with different elements to push your creative boundaries.
By following this comprehensive guide, you’ll be well on your way to mastering 3D models in Clip Studio Paint. This skill can vastly improve your artwork’s depth and realism, making it an invaluable part of your digital art toolbox. Dive in and explore the possibilities that 3D models can unlock in your artwork!
Latest Blog