Step-by-Step Tutorial: Designing Low Poly 3D Models in Blender
by Animatics Asset Store in Blog on September 26, 2024Blender, the magical all-in-one tool that transforms your wildest polygonal dreams into reality. If you’ve ever wondered how to create stunning low poly 3D models that look like they stepped straight out of a video game circa the year 2000, you’re in the right place. Buckle up. This ride is as sharp-edged and nostalgia-inducing as it gets.
Why Low Poly, Why Now?
Why on earth would anyone want to create low poly 3d models in this age of ultra-realistic graphics cards and 4K gaming? It’s simple: charm, efficiency, and a dash of retro flair. Low poly art is a splendid case of “less is more.” It proves you don’t need millions of polygons to create something visually appealing. Think of it as the minimalist diet—lean, mean, and stunningly clean.
Getting Started: Prepping Your Blender
Before diving headfirst into the deep end of low poly waters, let’s get our tools ready.
1. Downloading Blender
If you haven’t already installed Blender, do it now! It’s free (the best kind of software, right?) and available for various Operating Systems. You can grab it from Blender’s Official Website.
2. Setting Up the Workspace
Blender can be a beast with its myriad of panels and tools. For low poly modeling, we will mainly focus on the 3D Viewport, Outliner, and Properties panel.
- Reset the Startup File: Go to File ➔ Defaults ➔ Load Factory Settings.
- Arrange Panels: Close unnecessary panels like the Timeline to keep your workspace clutter-free. A clean workspace leads to a clean mind, they say.
Basics of Low Poly Modeling
Now, onto the good stuff. We’ll start with the basics of low poly modeling, breaking it down step by step.
1. Creating a Base Model
In Blender, your journey begins with primitive shapes—cubes, spheres, and the like. They’re the raw ingredients for your low poly recipe.
- Add a Primitive: SHIFT + A ➔ Mesh ➔ Choose your shape (usually, a cube will do).
- Enter Edit Mode: TAB key toggles between Object and Edit mode.
- Basic Shaping: Use the Grab (G), Rotate (R), and Scale (S) tools to start shaping your model.
Remember: we’re aiming for simplicity. Resist the urge to subdivide or smooth out the edges. Think of “low poly” as the austere monk of the 3D modeling world—humble yet impactful.
2. Extruding and Cutting
Extrusion is your best friend in low poly. It adds geometry without increasing the complexity unnecessarily.
- Select a Face: Right-click on a face in Edit mode.
- Extrude: Press E and move your mouse to bring out a new section of your model.
- Inserting Edge Loops: CTRL + R will allow you to add loop cuts, giving you more faces to work with.
Funny story: the first time I tried extruding in Blender, I ended up with something that looked more like an abomination than a model. Confidence boosted, skills… not so much 😊.
3. Mirroring for Symmetry
Want to build something symmetrical? Use the Mirror Modifier to save time and effort.
- Add Modifier: Go to the Modifiers tab and add a Mirror Modifier.
- Adjust Axis: Choose the axis of symmetry (X, Y, or Z).
4. Cleanup and Optimization
You’ve shaped your model, but it’s still too high-poly? Enter the Decimate Modifier.
- Add Modifier: Select your object, go to the Modifiers tab, and add the Decimate Modifier.
- Adjust Ratio: Play with the “Ratio” to lower the poly count without ruining your masterpiece.
Texturing Your Low Poly Model
No model is complete without textures. Low poly texturing is all about flat, bright colors and simple patterns. We’ll keep it straightforward to retain that classic aesthetic.
1. UV Unwrapping
- Enter Edit Mode: Select all faces (A key).
- Unwrap: U key ➔ Unwrap.
2. Creating Materials
- Add Material: Go to the Materials tab and click the “+” sign.
- Choose Base Color: Low poly thrives on vibrant and distinct colors. Assign simple, bold colors to various parts of your model.
3. Applying Textures
You can either stick to basic colors or apply simple textures for added detail.
- Texture Painting Mode: Switch to Texture Paint mode to manually paint on your model.
Ever tried to paint with broad strokes and accidentally splattered everything? Well, welcome to the world of texturing. Mistakes are part of the joy and the journey 😅.
Final Touches and Exporting
You’ve created a low poly wonder, textured it to retro-perfection—now what? Time to export!
1. Adding Lights and Camera
Proper lighting can make or break your model. Add some light sources (SHIFT + A ➔ Light ➔ Point/Spotlight) to highlight the sharp edges and vibrant textures.
2. Exporting Your Model
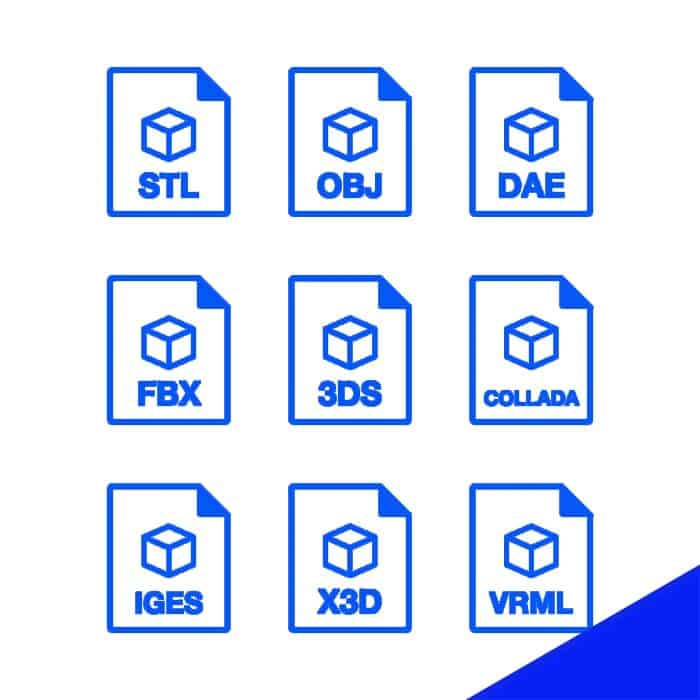
- File: Go to File ➔ Export ➔ Choose your format (FBX, OBJ).
- Adjust Settings: Ensure you’ve selected the right options in the Export panel.
Conclusion: Your Low Poly Journey Begins
And there you have it—a step-by-step guide to creating charming low poly 3D models in Blender. Now it’s your turn. Dive in, make something awesome, and share it. Got any cool tips or tricks? Leave a comment below, and let’s keep the creativity flowing! 🌟
Want to know the potential of low poly 3d models in various industries, Read This!
Happy modeling, and may your poly count always stay low but your creativity sky-high.


