Step-by-Step Guide to Customizing Free Rigged 3D Models for Your Projects
by Animatics Asset Store in Blog on September 18, 2024In the fast-paced world of game development, indie developers, and game studios are always on the lookout for efficient ways to enhance their projects. One such method is the use of free rigged 3D models. These ready-to-use assets can significantly cut down on production time and costs. However, to truly make these models your own and ensure they fit seamlessly into your game, customization is key. This comprehensive step-by-step guide will walk you through the process of customizing free rigged 3D models, transforming them into unique assets for your projects.
Step 1: Choosing the Right Model
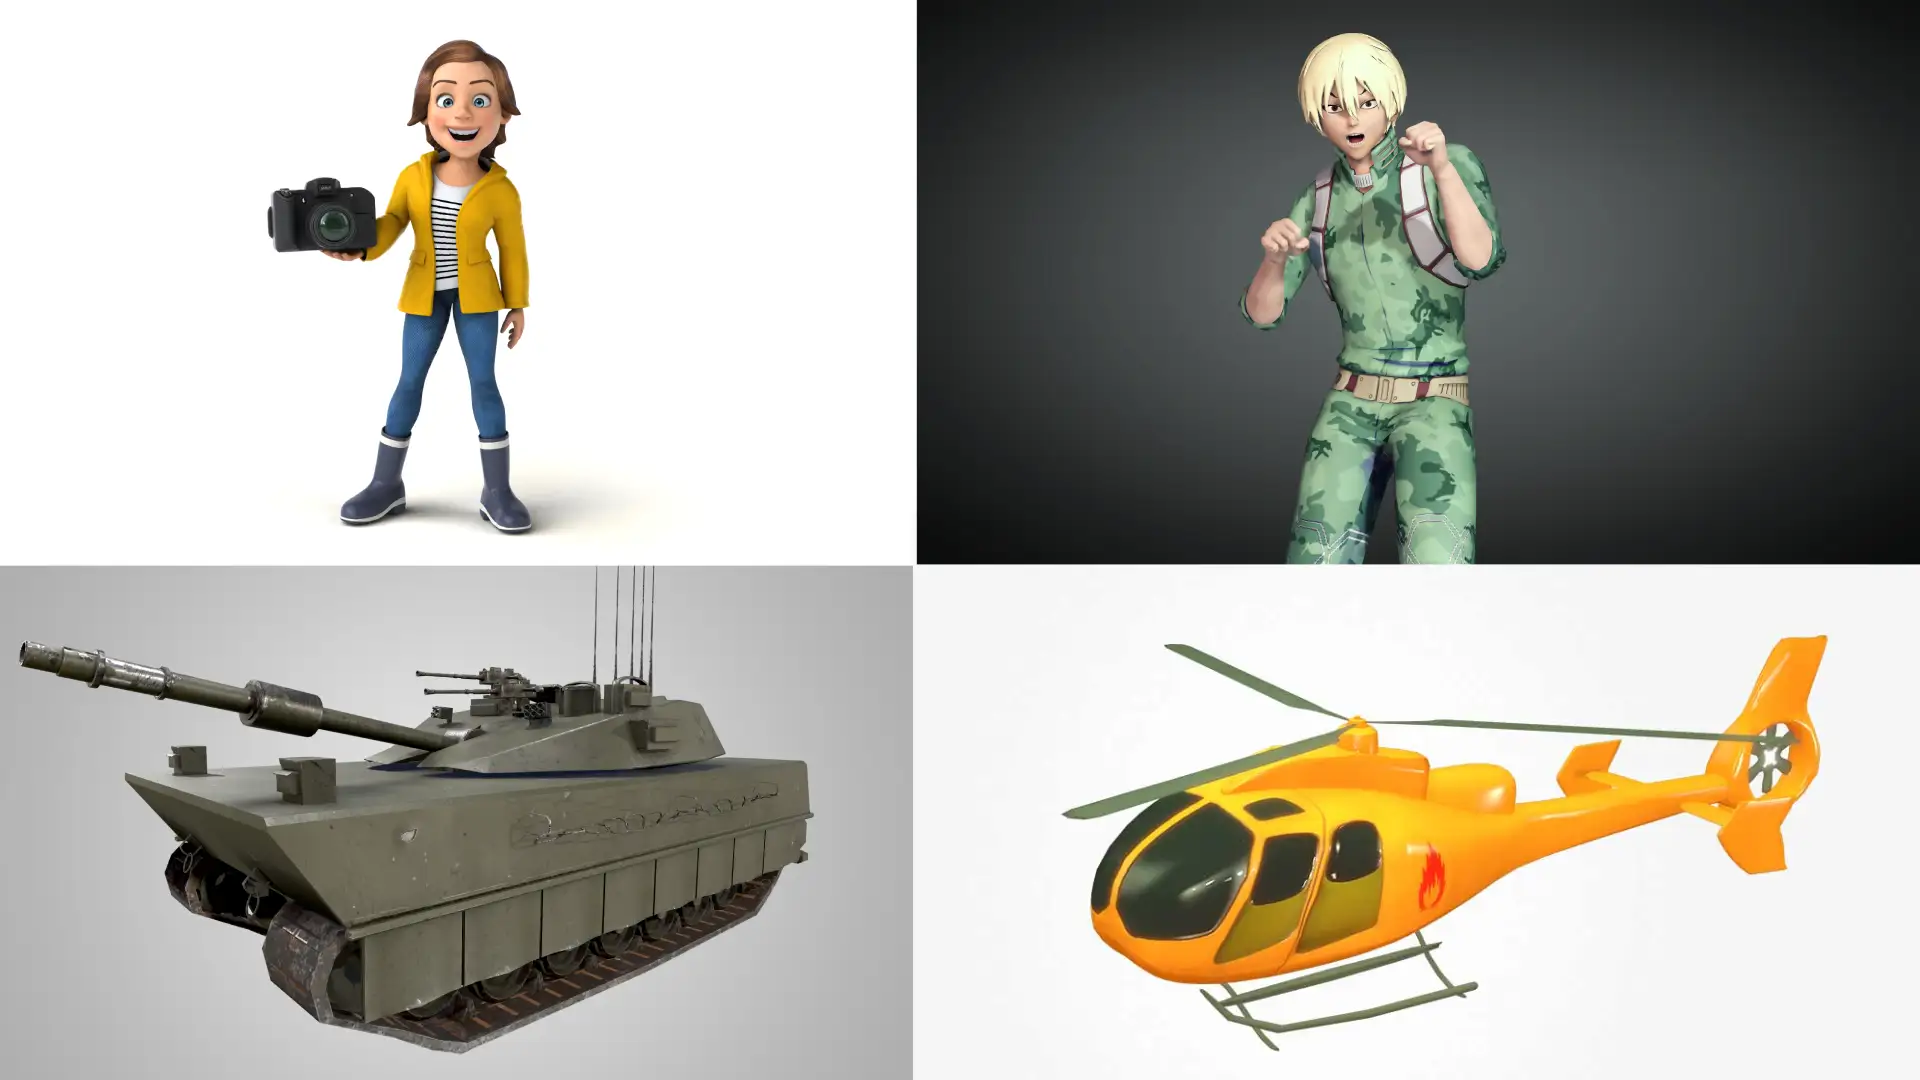
Before customization begins, it’s crucial to select the right 3D model. Look for assets that closely match your project’s aesthetic or can be easily modified to do so. Websites like TurboSquid, Animatics Asset Store, CGTrader, and Sketchfab offer a plethora of free rigged models.
- Consider the Genre: Ensure the model aligns with your game’s style and genre.
- Check Compatibility: Confirm that the model is compatible with your 3D software (Blender, Maya, 3ds Max, etc.).
- Examine Details: Look at the poly count, textures, and rigging complexity to ensure they meet your project’s requirements.
Step 2: Importing the Model into Your Software
Once you’ve selected the perfect model, the next step is importing it into your 3D modeling software.
- Blender Users: Open Blender, go to
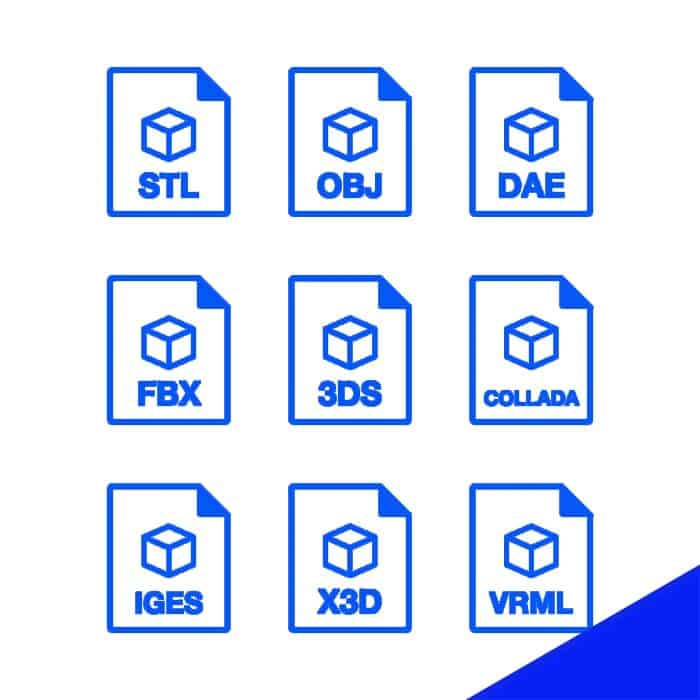
File > Import, and select the model file format (e.g., .OBJ, .FBX). - Maya Users: Navigate to
File > Importand choose the model file. - 3ds Max Users: Go to
File > Importand pick the appropriate file type.
Step 3: Inspecting Rigging and Weights
After importing, take a closer look at the rigging and weights assigned to the model. Proper rigging ensures smooth animations and realistic movements.
- Check Bone Structure: Verify that the rigging matches the model’s anatomy.
- Inspect Weight Paints: Ensure that the weight paints are appropriately assigned to avoid distorted deformations during animations.
Step 4: Customizing Textures and Materials
Textures and materials play a significant role in defining the visual appeal of your 3D model. Customizing these will help your model stand out.
- Edit UV Maps: Adjust the UV maps if necessary to fit the new textures.
- Apply New Textures: Use image-editing software like Photoshop or GIMP to create custom textures. Import these back into your 3D software and apply them to the model.
- Tweak Materials: Adjust material properties such as glossiness, transparency, and reflections to match your game’s visual style.
Step 5: Modifying the Mesh
Tweaking the mesh of your 3D model can make it unique and better suited for your project.
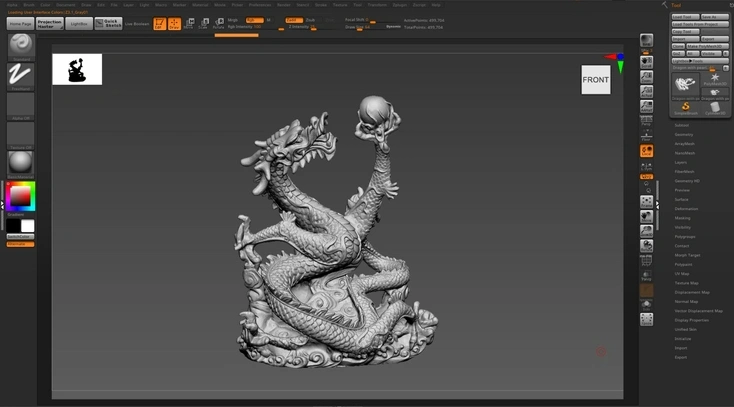
- Edit Vertices: Use tools like vertex, edge, and face editing to reshape parts of the model.
- Add or Remove Details: Enhance your model by adding new geometric details or simplifying complex areas to optimize performance.
Step 6: Re-Rigging (If Necessary)
Sometimes, the existing rig might not meet your animation requirements, and you’ll need to re-rig the model.
- Create Custom Bones: Using your 3D software’s rigging tools, create a custom skeleton that fits your animation needs.
- Reassign Weights: Ensure each vertex is correctly influenced by the new rig by painting weights.
Step 7: Testing the Model
Before integrating the customized 3D model into your game, thorough testing is essential.
- Animate the Model: Create test animations to ensure the rigging and weight paints are functioning correctly.
- Check for Errors: Look for clipping, deformation, or texture stretching issues.
- Optimize: Reduce poly count where possible to ensure the model runs smoothly within your game engine.
Step 8: Exporting the Customized Model
Once satisfied with the customization, it’s time to export the model for use in your game engine.
- Choose the Right Format: Depending on your game engine, export the model in a compatible format (e.g., .FBX for Unity, .DAE for Unreal Engine).
- Adjust Export Settings: Ensure textures and animations are included in the export settings.
Step 9: Importing into the Game Engine
Finally, bring your customized 3D model into the game engine.
- Unity: Drag and drop the exported file into the
Assetsfolder and configure the import settings. - Unreal Engine: Import the model via the
Content Browser, ensuring all texture and animation settings are correct.
Step 10: Fine-Tuning in the Game Engine
Once in the game engine, there might be a need for minor adjustments.
- Align with Game Mechanics: Ensure the model’s scale, orientation, and pivots are aligned with the game mechanics.
- Tweak Materials: Sometimes, further fine-tuning of materials is needed to achieve the desired in-game look.
- Attach Components: Attach any game-specific components, such as colliders or scripts, to the model.
By following these steps, you can successfully customize free rigged 3D models to fit your project’s unique requirements, saving you both time and resources. Happy customizing, and may your game come to life with distinctive, personalized assets!


