
Creating a retro telephone 3D model in Maya is a fascinating project that combines the art of 3D modeling with a touch of nostalgia. This article will guide you through the detailed process of modeling, texturing, and rendering a classic telephone using Autodesk Maya, one of the most powerful tools for 3D design.
Setting Up Your Project in Maya
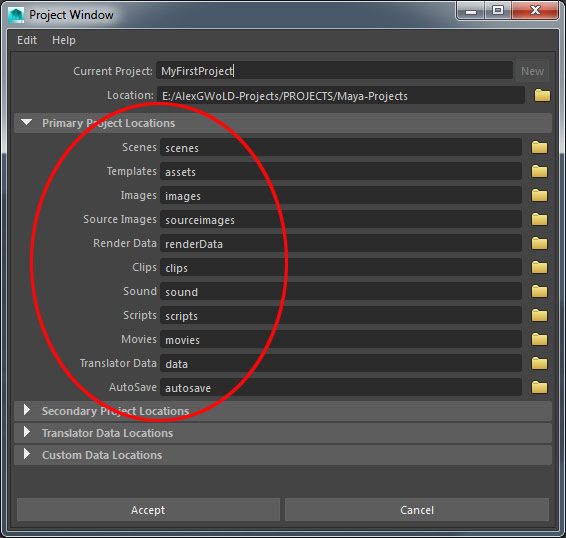
Project Initialization
Before diving into the modeling process, it’s crucial to set up your Maya project correctly. This involves configuring the project folder, setting the appropriate units (usually centimeters), and ensuring that all files will be saved in the correct directory. This organization is critical for efficient workflow management, especially when working with complex models like a vintage phone 3D design.
Reference Images
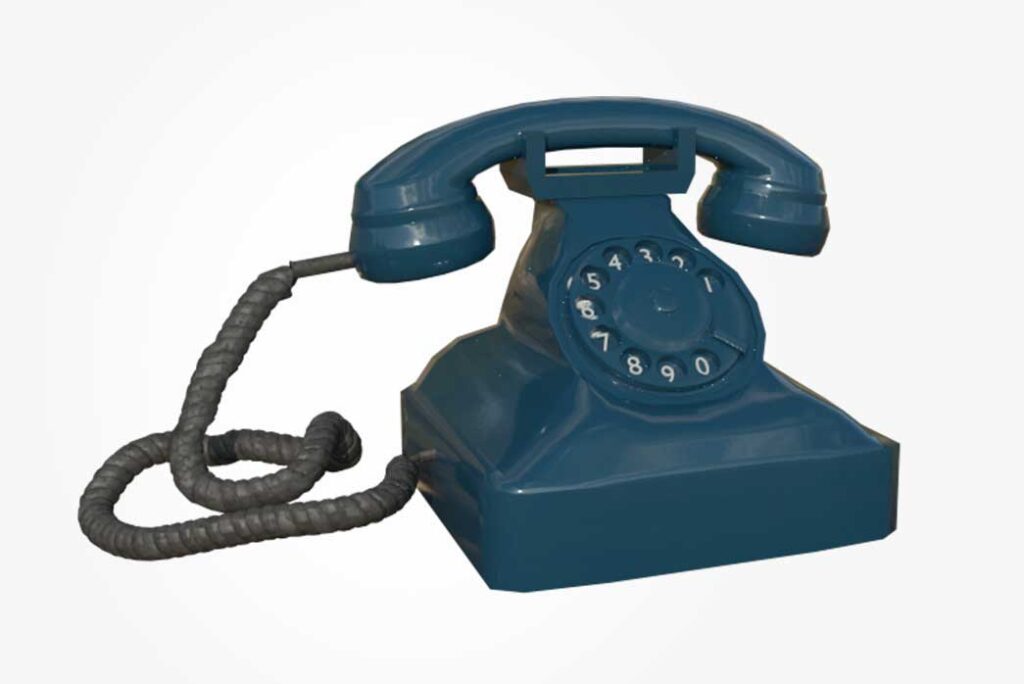
Obtain high-quality reference images of the retro telephone from multiple angles. These images are invaluable for accurate modeling and ensure that proportions and details are correct. Place these images on image planes within your Maya scene for easy reference.
Modeling the Retro Telephone
Basic Shape Creation
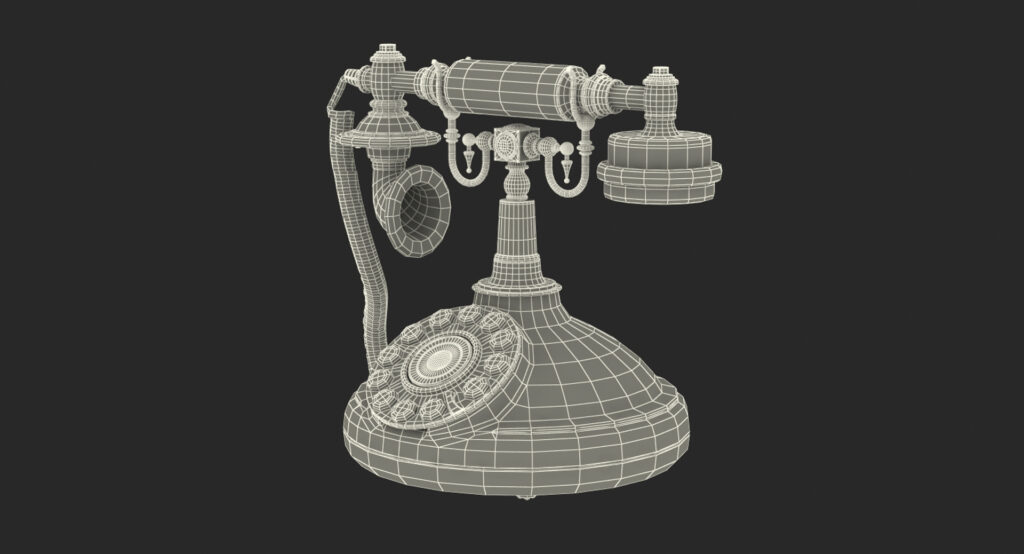
Start by creating the basic shapes using Maya’s polygonal modeling tools. Use primitives like cubes and cylinders as a starting point, shaping them to match the base, handset, and dial of the telephone. Maya modeling techniques such as extrusion, beveling, and smoothing will help refine these shapes.
Adding Details
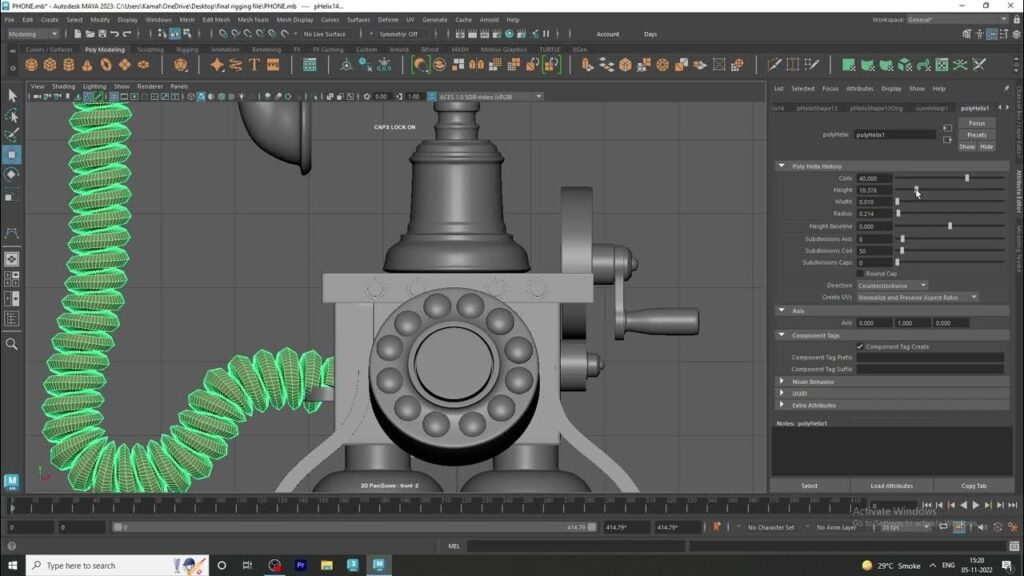
Details are what will make your telephone 3D model stand out. Add smaller components like the dial, cords, and screws. Techniques like edge loop modeling are essential for adding these intricate details without increasing the polygon count excessively, ensuring your model remains optimized for 3D mesh optimization.
Texturing Your Model
UV Mapping Basics
UV mapping is the process of projecting a 2D image texture onto a 3D model. For a retro telephone, it’s crucial to lay out the UVs cleanly to prevent textures from stretching or overlapping. Use Maya’s UV tools to unwrap the model, giving special attention to visible areas like the handset and dial face.
Applying Textures
Choose textures that reflect the material qualities of a vintage telephone—typically plastic and metal with a glossy or matte finish. You can enhance the realism of the textures by adding subtle wear and tear, which can be done using 3D telephone textures and bump maps to simulate small scratches and imperfections.
Rendering and Final Touches
Lighting Setup
Good lighting can make a significant difference in how your model is perceived. Set up a three-point lighting system in Maya to highlight the form and materials of your telephone 3D model. This setup includes a key light, fill light, and rim light to enhance the 3D form.
Rendering Retro Phones
Use Maya’s Arnold renderer to achieve a realistic output. Adjust the material attributes and renderer settings to capture the right mood and detail level. Pay attention to retro phone shading techniques to ensure that the model’s vintage feel is conveyed effectively.
Utilizing Assets from Animatics Asset Store
If you find the process challenging or time-consuming, consider utilizing pre-made models and components from the Animatics Asset Store. This resource can save significant time, especially with detailed components like phone cords or dials. Integrating these assets seamlessly into your project can accelerate production without sacrificing quality.
Conclusion
Modeling a retro telephone in Maya is an excellent way to practice your 3D modeling skills while creating something visually appealing and nostalgic. By following these detailed steps and incorporating essential techniques like 3D model detailing and 3D modeling workflow, you can achieve a professional-looking model suitable for various applications, from animation to static displays. Remember, practice and patience are key, as each step in the process enhances your skills and brings you closer to achieving a realistic and appealing 3D model.
Latest Blog